
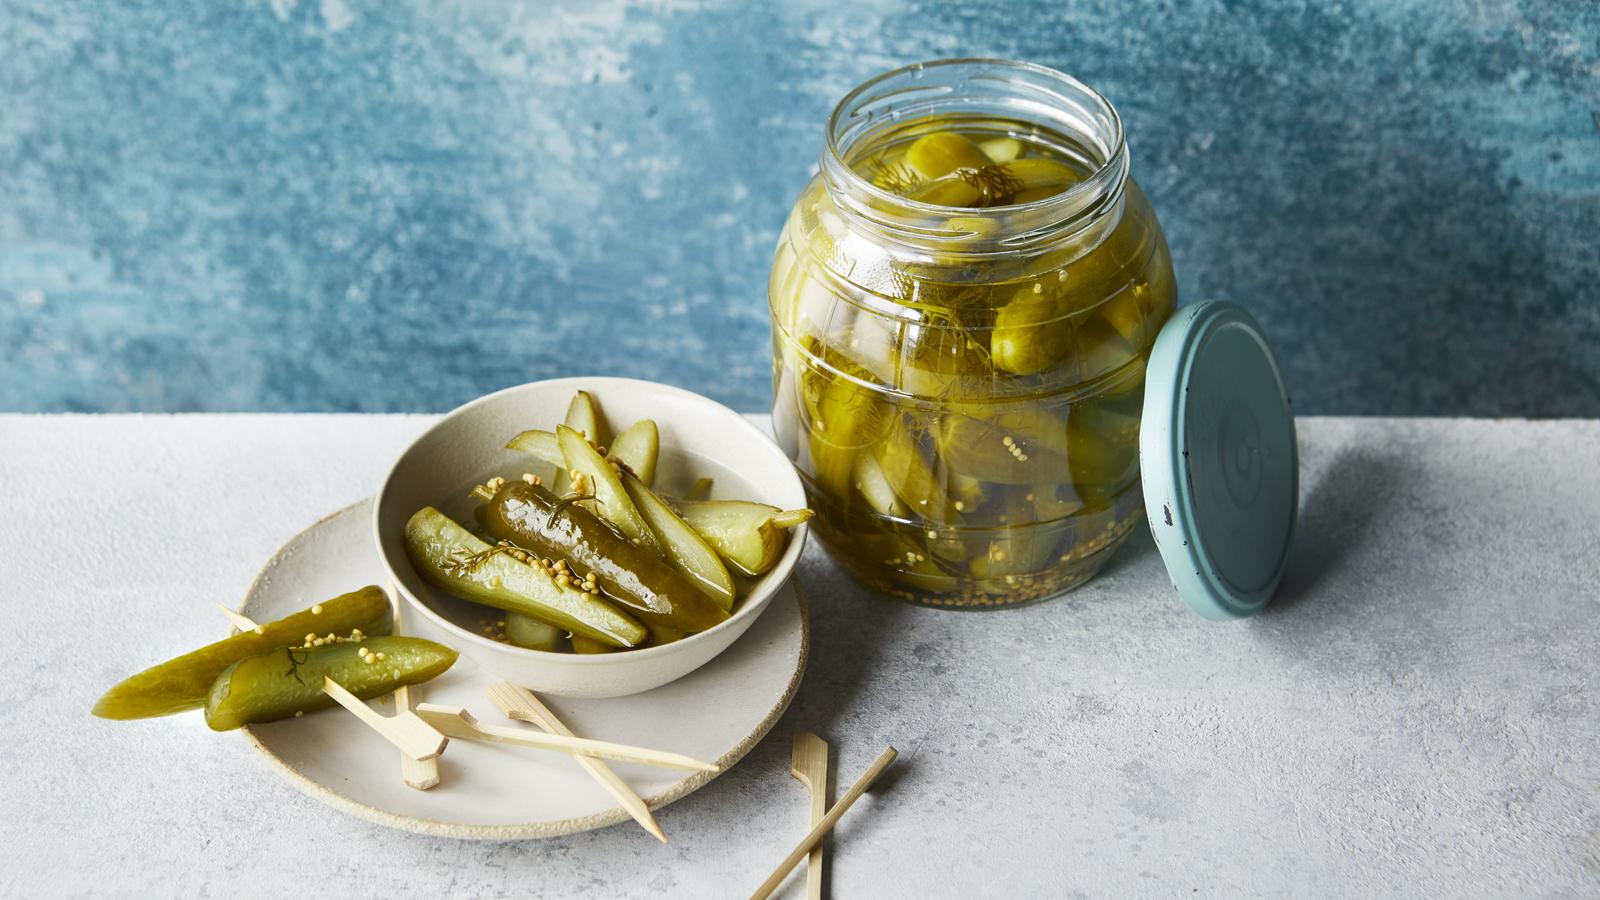
Creating your own dill pickles at home is a rewarding and delicious endeavor. This recipe yields crisp, tangy pickles that are perfect for snacking, adding to sandwiches, or serving as a side dish. With a few simple ingredients and some patience, you'll have homemade pickles that rival any store-bought version.
Some ingredients in this recipe might not be commonly found in your pantry. Pickling salt is different from regular table salt as it doesn't contain iodine or anti-caking agents, which can affect the brine's clarity. Dill seeds and mustard seeds might also be less familiar but are essential for that classic pickle flavor. You can find these items in the spice section of most supermarkets.
Ingredients For Dill Pickles Recipe
Water: The base for the brine, used to dilute the vinegar and salt.
White vinegar: Provides the necessary acidity to preserve the cucumbers and give them their tangy flavor.
Pickling salt: Ensures the brine is clear and free from additives that can cloud the liquid.
Garlic: Adds a robust, aromatic flavor to the pickles.
Fresh dill: Essential for that classic dill pickle taste, providing a fresh, herby note.
Mustard seeds: Contribute to the pickles' flavor and add a slight crunch.
Peppercorns: Add a subtle heat and complexity to the brine.
Dill seeds: Enhance the dill flavor and add depth to the pickles.
Cucumbers: The main ingredient, best when small and firm for optimal crunch.
Technique Tip for Perfect Pickles
When preparing cucumbers for pickling, it's essential to ensure they are fresh and firm. To maintain their crunch, soak the cucumbers in ice water for a couple of hours before packing them into the jars. This step helps to keep the pickles crisp and prevents them from becoming soggy after being submerged in the brine.
Suggested Side Dishes
Alternative Ingredients
Water - Substitute with vegetable broth: Adds a deeper flavor to the pickling brine.
White vinegar - Substitute with apple cider vinegar: Provides a slightly sweeter and fruitier taste.
Pickling salt - Substitute with kosher salt: Similar texture and purity, but ensure it's free of additives.
Garlic - Substitute with shallots: Offers a milder, sweeter flavor while still adding depth.
Fresh dill - Substitute with dried dill: Use a smaller amount as dried herbs are more concentrated.
Mustard seeds - Substitute with celery seeds: Provides a similar crunch and slightly bitter flavor.
Peppercorns - Substitute with crushed red pepper flakes: Adds a bit of heat along with the peppery flavor.
Dill seeds - Substitute with fennel seeds: Imparts a similar anise-like flavor.
Small, whole cucumbers - Substitute with zucchini: Similar texture and can be pickled in the same way.
Alternative Recipes Similar to This One
How to Store or Freeze Your Pickles
Ensure your dill pickles are completely cooled to room temperature before storing. This helps prevent condensation inside the jars, which can affect the quality of the pickles.
Store the sealed jars in the refrigerator. The cool temperature helps maintain the crispness of the cucumbers and preserves the flavors of the dill and spices.
For long-term storage, consider using a dark, cool pantry or cellar. Ensure the jars are sealed properly to prevent any air from entering, which can lead to spoilage.
If you wish to freeze your dill pickles, transfer them to freezer-safe containers or heavy-duty freezer bags. Make sure to leave some headspace to allow for expansion when the liquid freezes.
Label your containers with the date of preparation. This helps you keep track of freshness and ensures you use the oldest pickles first.
When ready to use frozen dill pickles, thaw them in the refrigerator. Avoid thawing at room temperature as this can lead to a mushy texture.
For best results, consume refrigerated dill pickles within 2-3 months. Frozen pickles can be stored for up to 6 months, but their texture may change slightly upon thawing.
Always check for signs of spoilage before consuming. If the pickles have an off smell, unusual color, or mold, discard them immediately.
How to Reheat Leftovers
If you want to enjoy your dill pickles warm, you can use a few methods to gently reheat them without compromising their delightful crunch and tang. Here are some of the best ways:
Stovetop Method:
- Place the dill pickles in a small saucepan.
- Add a splash of the original brine to keep them moist.
- Heat over low heat, stirring occasionally, until they reach your desired temperature. Be careful not to overheat, as this can make them soggy.
Microwave Method:
- Place the dill pickles in a microwave-safe dish.
- Add a small amount of the brine to the dish.
- Cover with a microwave-safe lid or plastic wrap, leaving a small vent.
- Microwave on low power for 30-second intervals, stirring in between, until they are warm.
Oven Method:
- Preheat your oven to 200°F (93°C).
- Place the dill pickles in an oven-safe dish.
- Add a bit of the brine to the dish to keep them from drying out.
- Cover the dish with aluminum foil.
- Warm in the oven for about 10-15 minutes, checking occasionally to ensure they don’t overheat.
Steaming Method:
- Place a steaming basket in a pot with a small amount of water.
- Bring the water to a gentle simmer.
- Place the dill pickles in the steaming basket.
- Cover and steam for about 5 minutes, or until they are warmed through.
Sous Vide Method:
- Preheat your sous vide machine to 140°F (60°C).
- Place the dill pickles in a vacuum-sealed bag with some of the brine.
- Submerge the bag in the water bath.
- Heat for about 30 minutes, ensuring they are evenly warmed.
Enjoy your dill pickles with their flavors intact and a pleasant warmth that enhances their deliciousness!
Essential Tools for Pickling
Large pot: Used to combine water, vinegar, and pickling salt and bring the mixture to a boil.
Mason jars: Containers where the garlic, dill, mustard seeds, peppercorns, dill seeds, and cucumbers are placed for pickling.
Measuring cups: Used to measure the water, vinegar, and pickling salt accurately.
Measuring spoons: Used to measure the mustard seeds, peppercorns, and dill seeds accurately.
Tongs: Useful for handling the hot jars and cucumbers without burning your hands.
Ladle: Used to pour the hot brine over the cucumbers in the jars.
Funnel: Helps to pour the brine into the jars without spilling.
Knife: Used to peel the garlic cloves.
Cutting board: Surface for peeling and preparing the garlic cloves.
Towel: Used to wipe the rims of the jars before sealing them.
Jar lifter: Helps to safely lift and move the hot jars.
Time-Saving Tips for Making Pickles
Prepare the brine in advance: Make the brine a day ahead and store it in the fridge. This allows you to quickly pour it over the cucumbers when ready.
Use pre-measured spices: Measure out your spices and herbs beforehand. This minimizes prep time when assembling the jars.
Pre-wash cucumbers: Wash and dry the cucumbers in advance so they are ready to be packed into jars immediately.
Utilize a funnel: Use a funnel to pour the hot brine into the jars. This reduces spills and speeds up the process.
Batch process: Work in batches by filling multiple jars at once, rather than one at a time.
Dill Pickles Recipe
Ingredients
Pickling Ingredients
- 4 cups water
- 2 cups white vinegar
- ½ cup pickling salt
- 4 cloves garlic peeled
- 8 sprigs fresh dill
- 1 teaspoon mustard seeds
- 1 teaspoon peppercorns
- 1 teaspoon dill seeds
- 2 pounds cucumbers small, whole
Instructions
- In a large pot, combine water, vinegar, and pickling salt. Bring to a boil.
- Place garlic, dill, mustard seeds, peppercorns, and dill seeds into mason jars.
- Pack cucumbers into jars, leaving some space at the top.
- Pour hot brine over cucumbers, ensuring they are fully submerged.
- Seal jars and let cool to room temperature. Refrigerate for at least 48 hours before serving.
Nutritional Value
Keywords
More Amazing Recipes to Try 🙂
- Slow Cooker Chili Recipe8 Hours 15 Minutes
- Summer Squash Bread Recipe1 Hours 15 Minutes
- Apple Cider Recipe40 Minutes
- Watermelon Lemonade Recipe10 Minutes
- Electric Lemonade Recipe10 Minutes
- Turkey Wraps Recipe10 Minutes
- Fresh Banana Daiquiri Recipe10 Minutes
- Cosmopolitan Recipe5 Minutes
Leave a Reply